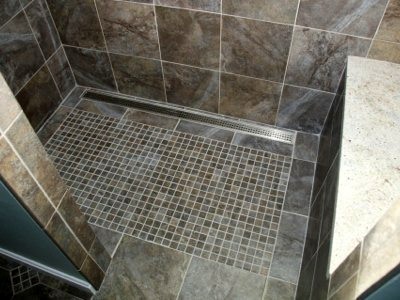
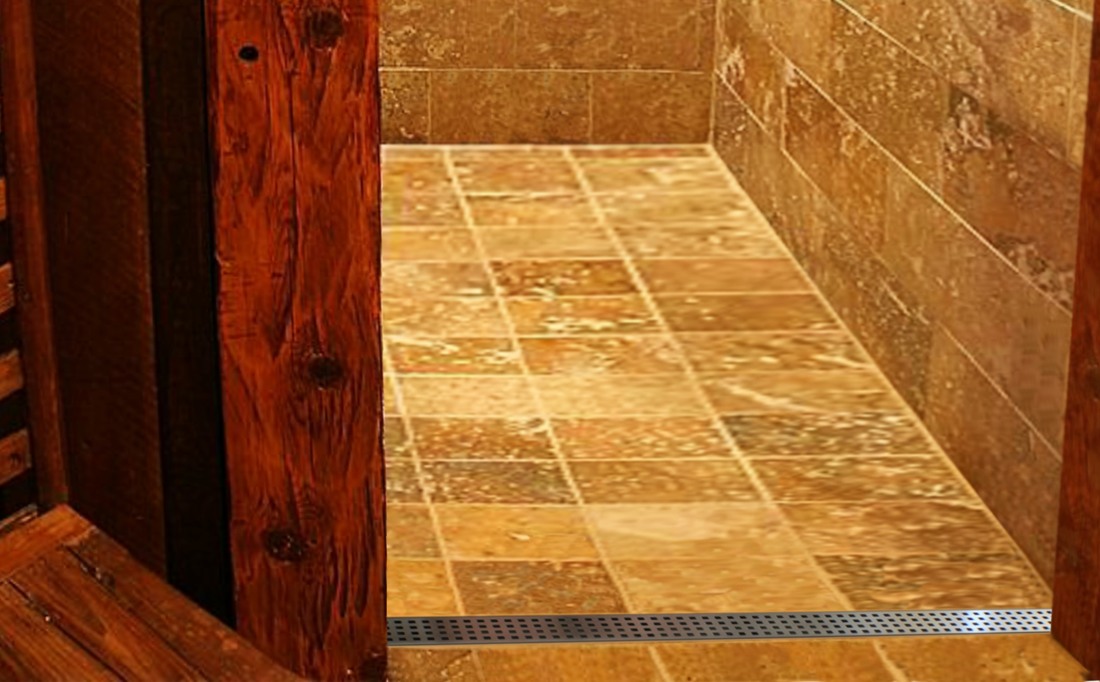
Design Layouts with Linear DrainsLinear drains are the current designs used in bathrooms; the traditional design was the center drain. The center drain was at a disadvantage because this meant that the floor had to be slanted or sloped in four different directions so that the flow of water could be directed at the centre. With the linear drains, the floor of the bathroom is tilted to one direction and allows the use of larger floor tile. The sloping of the floor on four sides for a centre drain means that you will use small material but with linear drains, you can use larger. There are five types of designs install you can decide to use on your bathroom with linear drains. The types of install are:
|
|
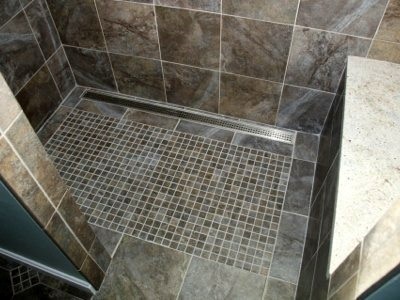
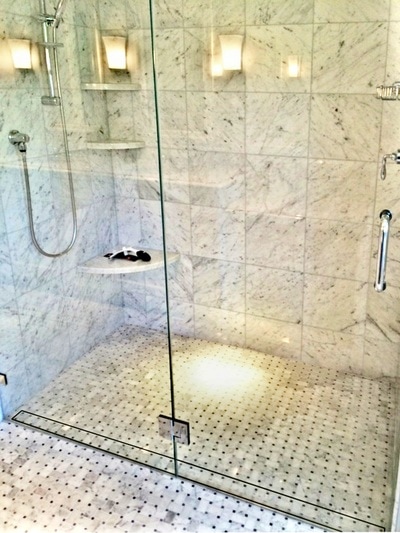
This design positions the drainage tightly against the wall. This type of design will ensure that all the water in the bathroom goes into the drainage. How do you install this type of drainage in your bathroom? You have to plan it out first so that you can ensure that the drainage is located against the wall tightly. The problem arises if you start cutting out your tiles without taking measurements first. You have to start by taking measurements of the bathroom and the drainage so that you can cut your tiles to fit perfectly. The site sizeable and fixed series require an ancient clamping drain body for PVC liner, Chloroloy, lead pan and fibreglass waterproofing. The diameter of the clamp down drain body creates a challenge for flush against the wall installations. To completely achieve this form of installation, you can use these options
|
3. Not Wall to Wall Design
|
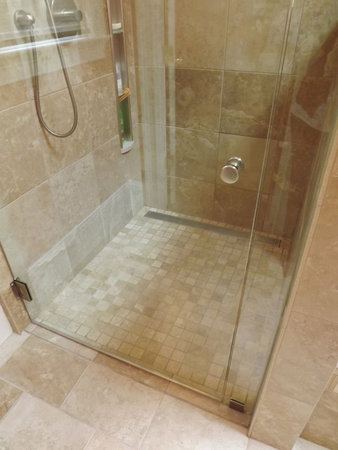
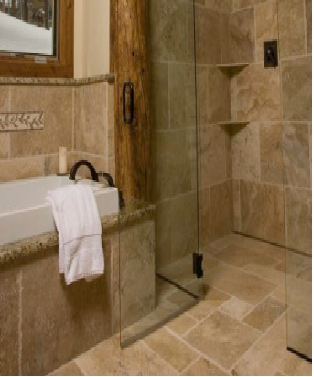
Just as the name suggests, the type of drainage does not extend from the end of the wall to the other in the bathroom. It is just a form of design but that does not mean that it is not the best form of installation. You will just have to take the measurements and leave a space for the drainage. It does not need a lot of work done and calculations like the wall-to-wall design.
|
4. Threshold Design
|
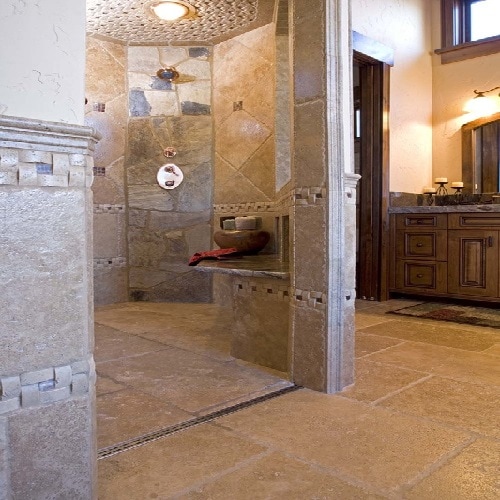
The threshold design in the bathroom is meant to prevent water from leaving the bathroom and spread to the other rooms. Mostly folks who use the threshold design for drainage in their bathrooms do this for safety purposes. They are concerned that if water from the shower spread to the other rooms, it may cause accidents in the house. This form of linear drainage is normally situated just on the door. This form of linear drainage is advised to put it wall to wall so that may not escape. The wall-to-wall design ensures that all water is going to go in the drainage and not leave the wet area. The floor of the bathroom will be gently sloped towards the direction of the drain to ensure that water flows towards the drainage.
|
5. Barrier Free Design
|
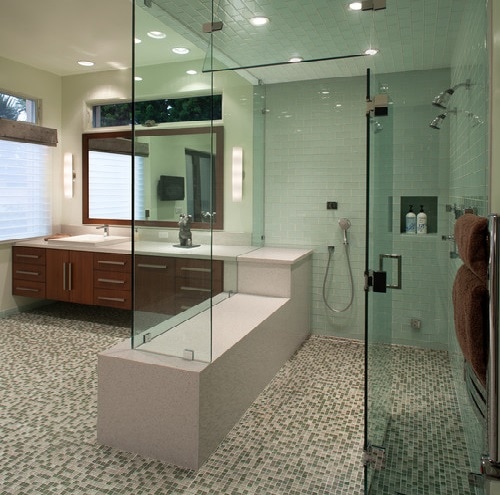
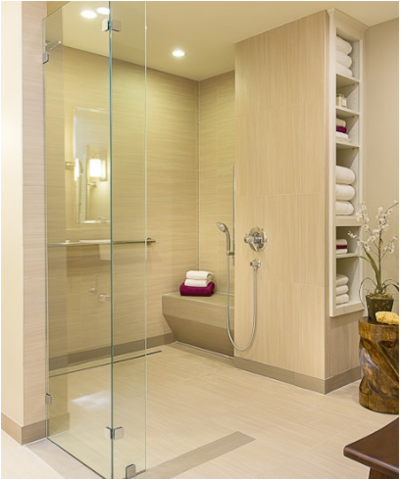
Installing a shower drain without a barrier will create a seamless look, which can be easily accessible to the wet area. If you want to have this form of installation, the floor level should be equal in the shower area and outside the bathroom/shower area. The dry side of the shower should have a slight pitch towards the linear system to ensure proper drainage. The entire wet and dry floor area should be waterproofed. It is recommended the wet area is a minimum of 42" in width to contain water from splashing off the shower user.
Those are the kinds of drainage designs you can decide to use in your bathroom. Linear drainage is the modern method of drainage. It does not require a lot of work and it ensures that water from the bathrooms is properly drained. I know many of you are wondering about waterproofing your bathroom. How to do it? And why? Well let me shed light on waterproofing the bathroom. |
Waterproofing
|
Waterproofing is making your bathroom floor or walls not susceptible to water. In a place like the bathroom where the floor and walls are constantly being exposed to water, you have to waterproof it to avoid the damage that is caused by water. So how do you waterproof your bathroom?
Steps in waterproofing your bathroom Step 1 You have to clean your bathroom completely to ensure that there is no dirt in form of dust or specks. Ensuring that you have a clean floor will make the waterproofing agent you are going to apply work. It works well in a clean surface. Step 2 Take the primer (waterproofing agent) and put it in a bucket for easy application. Take a paint brush or paint roller and start applying it from the back of the bathroom working your to the front. You should apply it on the floor and walls up to a height of twenty centimetres. Step 3 You should wait until the primer dries and then start applying silicone seal on all the cracks and open spaces in the bathroom floor and wall. Wait for twenty for hours for the silicone to dry. Step 4 For you to maintain a certain level of waterproofing the wall, you should put masking tape up to the level you want to water-proof. Step 5 Start applying the water proofing agent from the back working your way up to the front just as you did with the primer. Start with the floor and up to the wall level. Step 6 Cut the waterproof membrane into lengths of the bathroom walls. Lay the membrane down so that half is on the wall and the other half on the bathroom floor covering the crack. To stick the membrane down, use either a paint roller or brush to paint over it with the waterproofing agent. Repeat this until all of the gaps on the floor are covered with membrane and painted over. Step 7 Paint the floor and wall with the waterproofing agent and let it dry for 24 hours before applying a second coat of the waterproofing agent. This is one of the ways you can water-proof your bathroom especially if you have an ordinary bathroom floor. A water proofed bathroom goes well with a good drainage system. The other way you can use to water proof your bathroom is use tiles for the floor and a specific level of the walls. You can decide to use either methods of waterproofing for your bathroom in order to avoid causing damages. |
Popular Posts
About TrulineTruLine Linear Drains by Trugard.
The TruLine linear shower drain is part of the state of the art shower waterproofing system. The TruLine drain has 3 elegant grate styles and 4 lengths for any bathroom design. |
Company |

